

Guide to Building the Perfect Professional Agenda
Build a streamline professional agenda to keep you organized at the office.
Whether you’re still applying, prepping for your first day, starting an internship, or looking to switch up your existing planner set up, I’ve got the perfect minimal agenda strategy for you.
Starting simple is the best route. When setting up an agenda specifically for working in a corporate or office setting, professionalism is key. Here’s how to get started:
Step 1: Decide on an agenda that will suit you longterm. Choosing your agenda size, mechanism and style is an important first step. Select an agenda size that’s portable, easy to physically write in, and gives you adequate planning space. Consider the ring size and the agenda appearance. Black is usually a great, practical choice. Black agendas look professional, chic, and will stay clean longer (or at least appear that way).
Step 2: Choose your calendar inserts. This step is crucial for a functional set up, so take your time and think through your position responsibilities, time management strategy, and personal planning style to start your system off right. Three must-haves include an accurate yearly calendar for referencing dates, a monthly view for planning in advance, and a weekly spread for targeted task deadlines. There are many different layouts for a yearly, monthly, or weekly view, so choose whichever matches your planning style best. For example, if you typically prefer a lot of space for your weekly view, choose a week on two page spread instead of a week on one page.
Step 3: Include additional inserts to support your needs. If you suspect that time management is an area that needs more focus, add in a daily plan insert so you’re prepared to plan by the hour. Include at least one style of Note inserts. There may be times where you just need to jot down some notes, brainstorm, or problem solve. Having some extra space on blank, lined, or grid inserts is a must.
Step 4: Use supplements and tools to help you stay organized. Having sticky notes, a few notepad sheets, a great pen, and some tabs are going to come in handy. You can even add in some professional stickers to draw your eye to certain tasks or deadlines. All of these tools should be kept to a minimum as to not crowd your agenda. Organizing these into your agenda pockets is a great way to have all your tools with you just in case.
Now, I’ll walk you through my Professional Agenda set up.
The agenda I am using is the Filofax Chester Compact A5 Agenda. This agenda is stunningly chic, I love the texture detailing, and best of all, it’s compact with 16mm rings. Knowing this agenda will be coming to and from the office with me, I needed something that was easy to slip into my work bag.
An average A5 agenda can get heavy when filled up with inserts, but the compact agenda only allows me to keep the necessities so it will always stay slim + streamline. It has 2 pen loops, lots of pockets, and an elegant snap closure. Another great option is the A5 Filofax Finsbury.

For my calendar inserts, I selected the following:
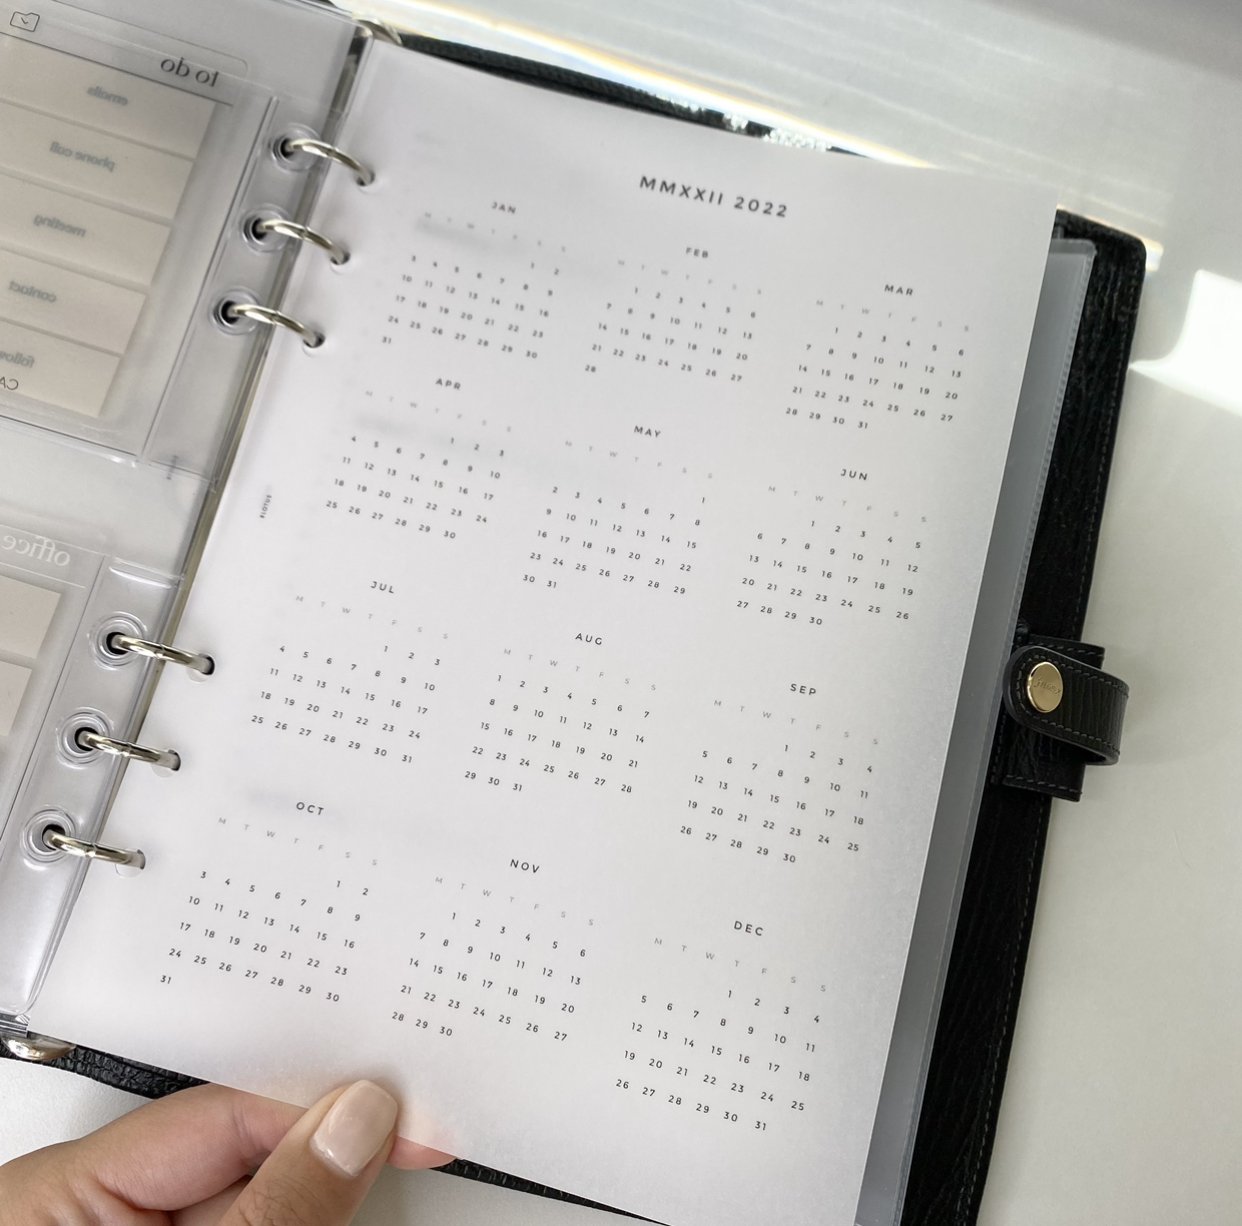
Year At a Glance Dashboard - This 8Lotus dashboard contains all of the yearly dates at a glance. This is my reference calendar for setting appointments or meetings.
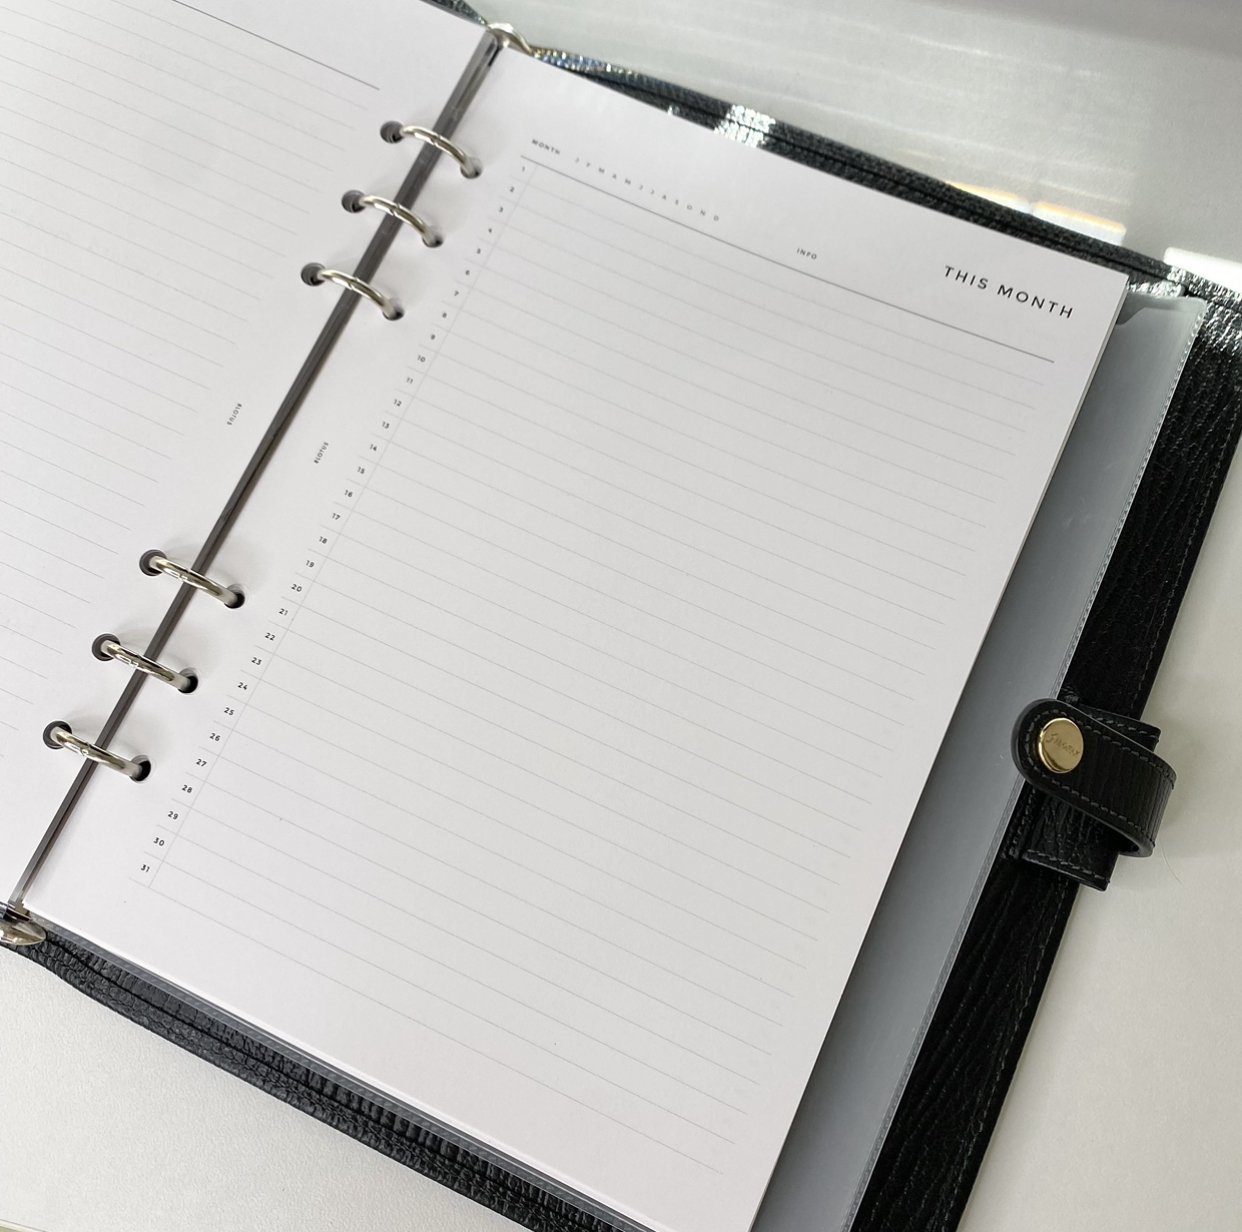
“This Month” Lined Monthly Inserts- There are many monthly views to choose from, but these 8Lotus month on one page inserts are perfect for planning projects chronologically. The lines are numbered 1-31 down the page so you can list out deliverables in order.
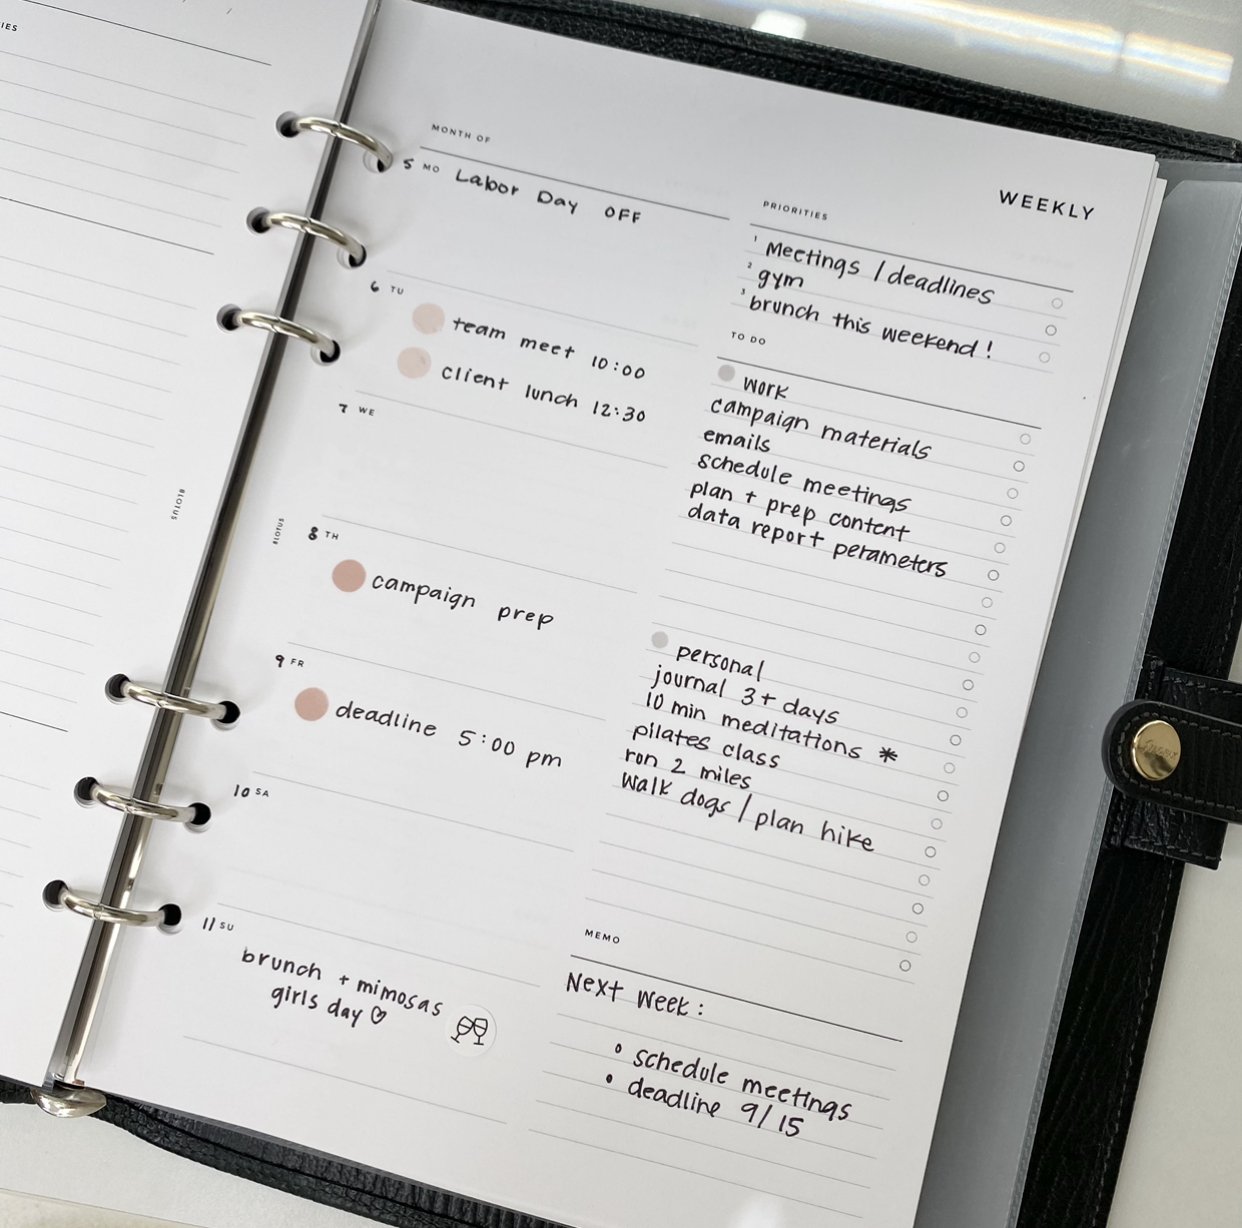
Weekly Overview- It’s no surprise I’m using one of my tried and true weekly layouts, the 8Lotus Undated Weekly Overview. This layout is perfect for any style of planning.. beginners, planning experts, and everyone in between. There’s space for day specific planning, a section for priorities, a task list, and notes. I also prefer an undated version so I have the freedom to skip a week if necessary, or try a different style of insert at any point in the year.
After thinking through my role, I decided to add the Undated Daily Inserts from 8Lotus.
This style includes a schedule section to accommodate planning by the half hour, priorities, tasks, and notes. Knowing there would be days where I’d have a tight schedule, a comprehensive look at my day would be helpful. These are undated, so I can use them on days I need extra support for my schedule but I am not obligated to use them everyday if I don’t need to.
Any style of Daily Plan Insert will work! Maybe you prefer an insert to include meals if health is a main goal, or maybe you need an untimed schedule so you can customize your plan each day. Browse all of the 8Lotus daily plan inserts to find one that suits your needs.
As for note inserts, I’ve included two different styles.
I usually take meeting notes in a separate notebook, but for important meetings like quarterly reviews, department meetings, or data reports, I like to use the structured Meeting Note Inserts to keep for my own records.
Additionally, having a blank, lined, or grid style Note Insert is a must. Even if you only keep a few in your agenda at a time, having space to create a list or two will come in handy.


Now the fun part!
When adding in accessories, keeping it simple is key. I created a dashboard on Canva from an image of the Milwaukee Art Museum. In the front pockets, I’m storing a few reference cards that I made so I can quickly reference my color coding key, my daily routine, and key focuses. I’m also keeping my Appointment Cards from 8Lotus in my front pockets to set reminders for meetings or appointments.
For stickers, I am using my favorite icons from my favorite sticker shop, The Planner Spot. TPS has the BEST icon stickers. I say this based off the quality, consistency, and aesthetic. The paper quality is buttery smooth and the all stickers are cut to perfection. In my professional agenda I like to use the laptop icons, the meeting stickers, emails, and phone stickers for important phone calls.
Adding in stickers to my weekly spread makes planning a little more fun and draws my eye to important tasks, deadlines, or obligations. I usually only use one to two stickers per week to make sure my plans are clear and don’t become overly decorative.


Just to recap, here are your do’s and dont’s
Do:
Keep it simple
Ensure you have a way to reference yearly dates, include a monthly spread, and a weekly view
Only keep necessities in the agenda
Don’t:
Choose a size that’s impractical to write in
Overstuff with accessories
Over-decorate
Watch the full set up on my YouTube channel, and subscribe for more planning + organization inspo.
Disclaimer: This page contains affiliate links, meaning I may receive commission on qualifying purchases made through these links. This costs nothing for you, but helps to support my channels. Thank you for your support!